Upgrade to RM1 Pro
You have a standard RM1 and want to upgrade to RM1 Pro? Here's how.
RM1 Pro licenses
Once you have received your RM1 Pro, the licenses should already be deployed. To verify, open the RM1 Web UI and navigate to Settings > Licensing.
Enter licenses manually
If any of the following licenses are missing, enter the license codes from your delivery note:
- 52-1952 RM1 Pro
- 52-8511 Views App
- 52-8581 Enhanced DSP Processing
- 52-8583 Core Control Networking
To enter licenses, open the RM1 Web UI and go to Settings > Licensing. Enter each code (one at a time) and click Add after every code until all are listed.
DHD licenses are always bound to one hardware device. Once entered, they cannot be removed.
Create Toolbox Configuration
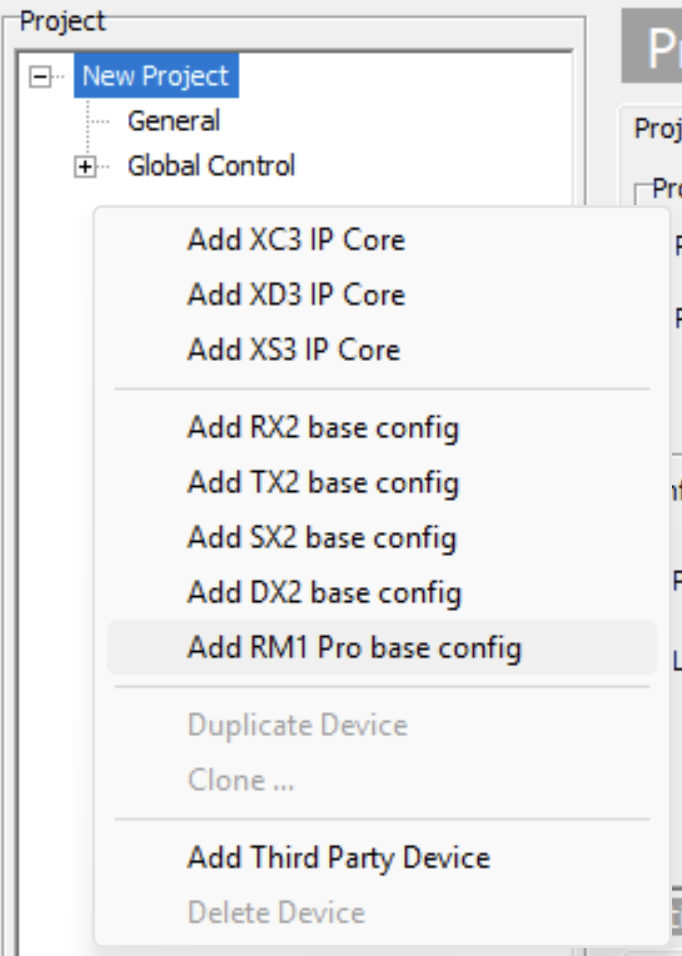
After you have entered your licenses, open Toolbox 10. To add a new RM1 Pro:
- Click
Addin the ToolboxProjectsection on the left - Select
Add RM1 Pro base config - A new RM1 Pro base config is created
- Start configuring your RM1 Pro
RM1 Pro requires Toolbox 10 version 10.3.2 or later.
We provide a base config that already includes an audio system and Views (for the Views App), so you can deploy the RM1 Pro immediately. This also serves as a starting point for further changes without beginning from scratch each time.
Deploy the Toolbox configuration (first time)
Once the RM1 Pro Toolbox configuration is complete, transfer it to the device: in Toolbox click Transfer > Load to Device.

After the transfer, the RM1 switches to Pro mode. The firmware reloads, the front‑panel display restarts, and the DSP is flashed. The RM1 Web UI is replaced by DHD Web Apps. This conversion process may take up to a minute—please wait. When the front‑panel display returns, refresh your browser and the Web Apps will load.
An orange (DHD look) front‑panel theme indicates the device is now running as RM1 Pro.
Deploy Toolbox configuration changes
After the initial configuration, you can treat the RM1 Pro like any other DHD Series 52 core when working in Web Apps.